By Sanja Daniels
While my calendar is jam-packed these days as a wife, mom, graduate student at The University of Southern Mississippi and intern at the Veterans Administration, I still enjoy a good DIY project.
With the Christmas season upon us, and inflation hitting many of us hard, I’ve started a few projects that are inexpensive and unique. Homemade gifts not only are easier on the wallet, but they tend to be treasured especially because they are heartfelt and one-of-a-kind.
I find DIY projects therapeutic and fun for the whole family; plus, they’re a great way to keep kids busy and let them unleash their creativity.
Here are a few projects to try that can bring joy to your home and smiles to loved ones’ faces this holiday season:
METALLIC AND GOLDLEAF PAINTING
What you’ll need:
Frame
Bright metallic paint in the color pearl and metallic acrylic paint in antique gold and copper.
Gold flakes
Three-quarter-inch angle brush
Total cost: $15
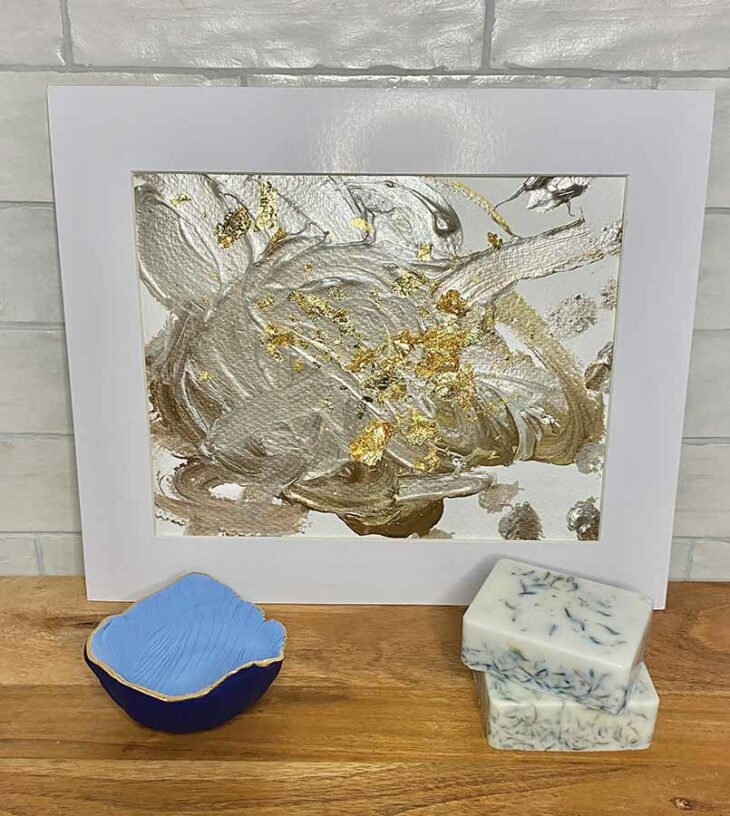
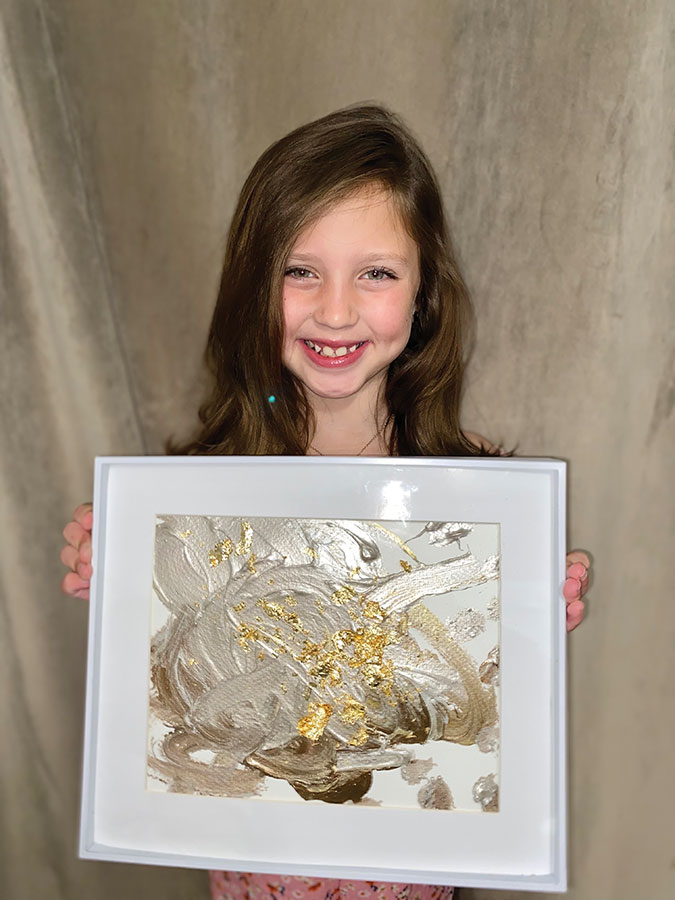
My 8-year-old daughter, Hannah Vivian, made his original metallic and goldleaf painting. You’ll first brush on a generous amount of bright metallic paint in the center; then, lightly brush on your copper paint at the bottom corners and faint gold strokes on the top. Try to avoid mixing the paint; however, a light stroke throughout the corners will add dimension. Lastly, release the gold flakes, starting at the top left corner, and let them fall to the center. Dry time is eight to 10 hours, but it may vary depending on your paint’s thickness.
LAVENDER GOAT MILK SOAP
What you’ll need:
12 ounces of detergent-free goat milk soap.
Five to 10 drops of lavender essential oil
A half ounce of dried cornflower
2.25-by-3-inch silicone mold
Total cost: $10
This lavender and goat milk soap was easy and fun to make with my daughter. Weigh out 12 ounces of goat milk soap, place it in a microwave-safe bowl and heat for one to two minutes. Remove the bowl from your microwave and stir in five to 10 drops of lavender oil; add a half ounce of dried cornflower petals. Once it’s thoroughly mixed, pour it into a silicone mold of your choice and let it harden overnight.
JEWELRY HOLDER
What you’ll need:
Spray bottle filled with water
Parchment or wax paper
Plastic wrap
X-Acto knife
Three-quarter angle brush
One-quarter angle brush
Acrylic matte paint in shades sky blue and navy
Liquid Leaf paint in classic gold
Total cost: $10
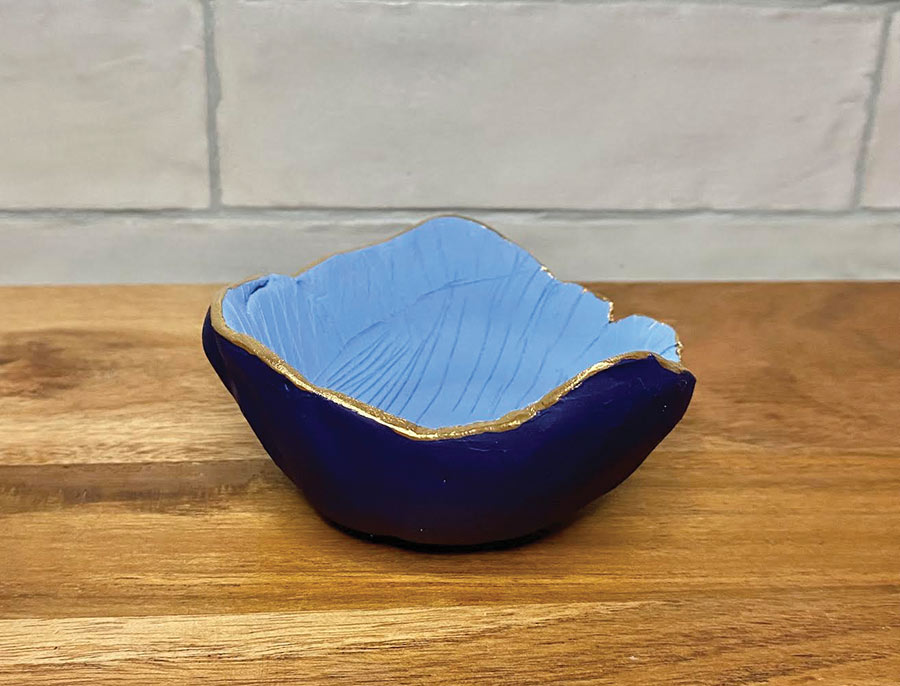
This jewelry holder was made from air-dry clay and was fairly easy, but it required some patience. I used a large knife to cut off a piece of clay, which resembled a slice of bread. I placed the clay onto parchment paper, used my hands to fashion it and sprayed a little water onto the clay. Once I had my desired size, I placed my clay on top of a ramekin, upside down, with plastic wrap between the clay and the dish. I let it sit overnight and very carefully separated the plastic wrap from the clay. I gently cut off the rough edges with an X-Acto knife. I also used the knife to add lines inside of the jewelry holder. I painted the inside sky blue, and the outside navy. I let those coats dry before lightly brushing on liquid leaf paint.
Sanja Daniels is a mother, wife, student, advocate and DIYer who previously has won Gulf Coast Woman’s DIY DIVA Facebook competition. Reach her at Sanja.Daniels@usm.edu.


