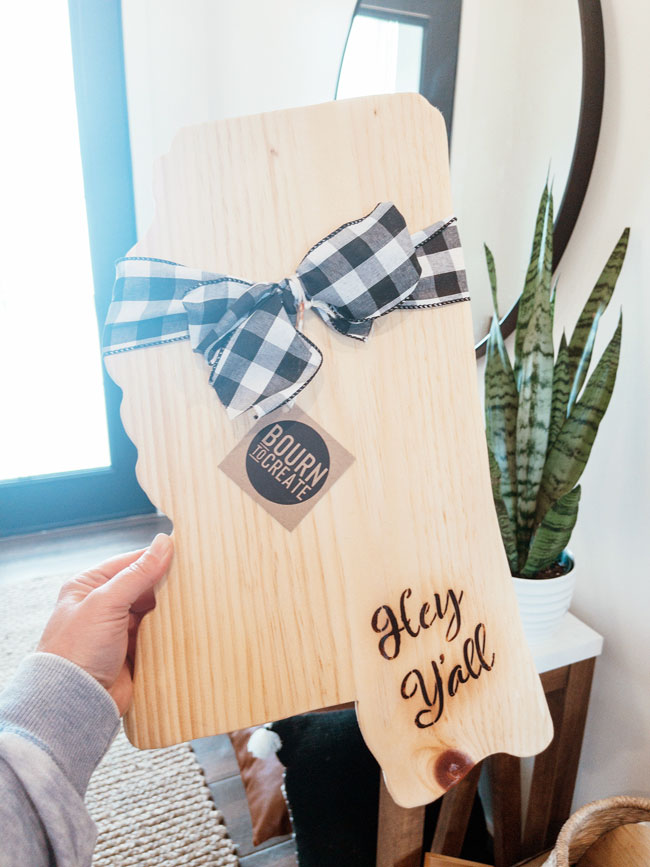
What’s better than a cheese or charcuterie board? One that is customized with your own designs! This project calls for a homemade wood-burning gel and a heat gun, and you can use this process on any wooden surface if you prep it. It’s super easy and fun, and the possibilities are endless!
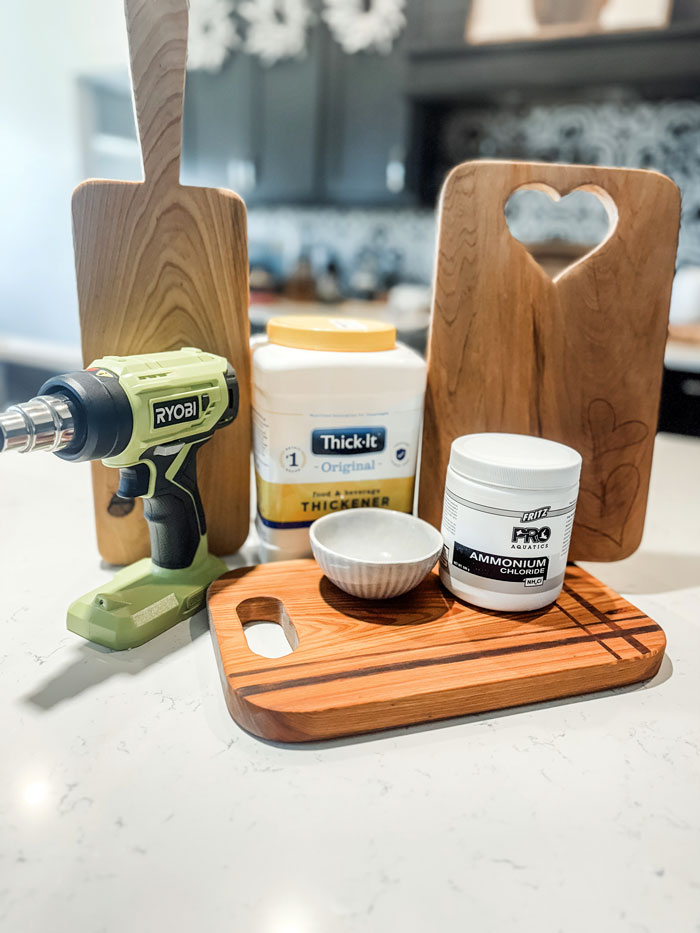
WHAT YOU’LL NEED:
- Ammonium chloride (available on Amazon)
- Thick-It powder (can be purchased on Amazon)
- Paint brush or sponge
- Jar for mixing and storing the gel
- Heat gun (can be purchased at craft or hardware stores)
- Wood (needs to be sanded as smooth as possible and preferably unpainted and unstained)
DIRECTIONS:
Step 1:
Mix the following ingredients in a jar, and stir until well combined:
- 4 tsp of Thick-It
- 1 ½ tsp on ammonium chloride
- ¼ warm water
- Optional: Add a drop of food coloring to help see the gel when painting it on.
You want a pudding-like consistency. If it’s too watery, add more Thick-It. If it’s too thick, add water. The ammonium chloride is the active ingredient that makes the heat react with the wood.
Step 2:
Prep your wood. I cut and prepare my own pieces of wood for cheese boards, but you can buy pre-prepped wood at craft stores like Hobby Lobby or Michaels. Make sure your wood is sanded completely smooth, or your design will bleed and smudge.
Step 3:
Add a design with your burn gel. I like to use stencils that I cut with my Cricut machine, but you can also use store-bought stencils or simply free hand your design with a paint brush. Once your burn gel is on the wood, carefully remove any stencils or tape before moving on to the next step. Be sure not to get any gel in unwanted areas because even if you wipe it off, it will react to the heat.
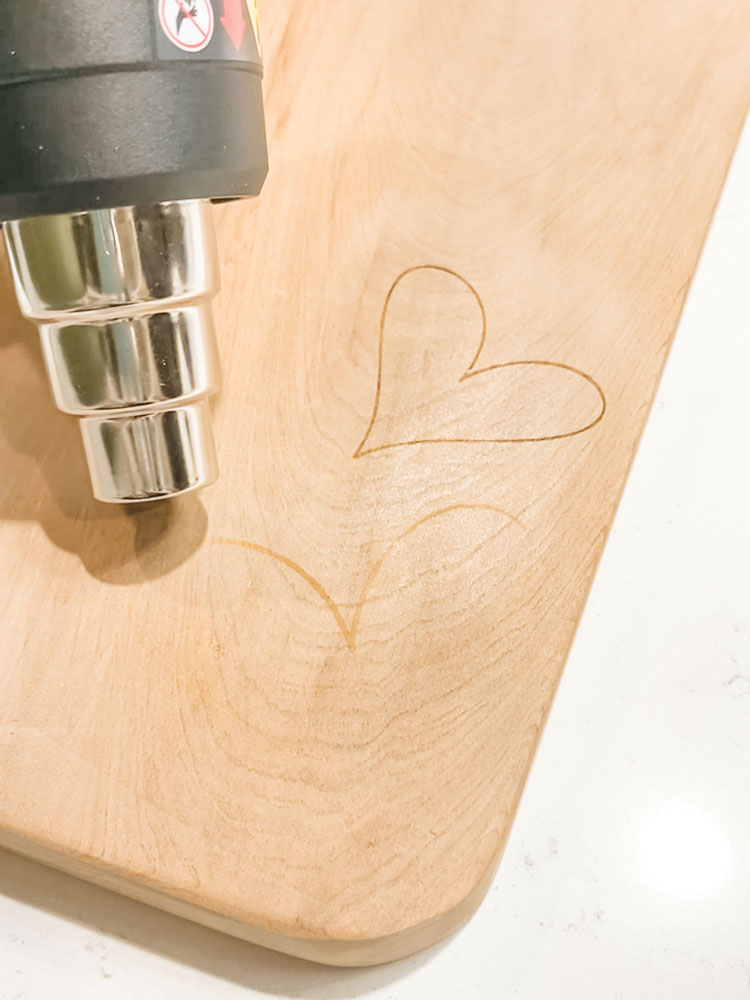
Step 4:
Carefully hover your heat gun over the design until it starts to burn the gel into the wood. The heat will make the gel react, which can happen quickly or may take a little time depending on your heat-gun settings. Be careful not to hold the heat gun in one spot too long, or you will burn the wood around the design.
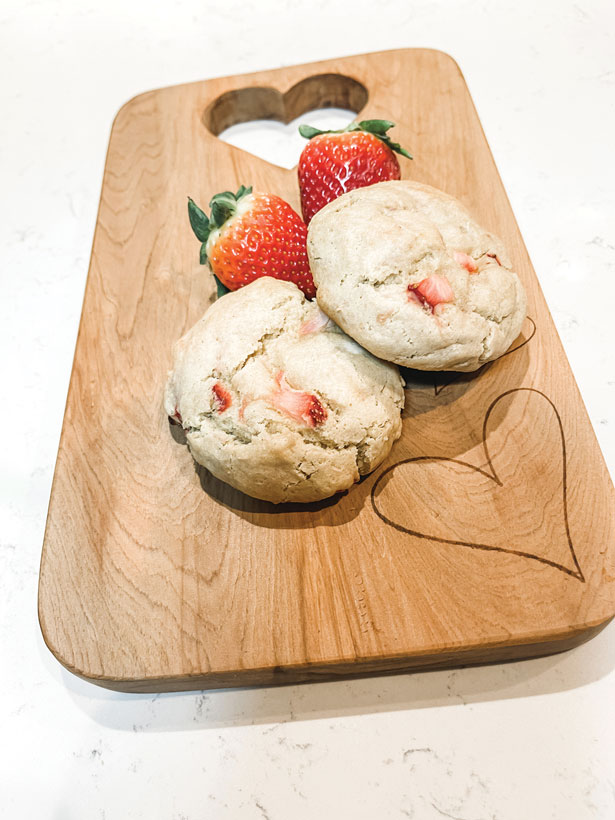
Step 5:
Once you’re done, you can add a food-safe stain and oil to the wood to condition it.
TIPS:
- You can save your burn gel by covering it tightly with a lid and storing it in the fridge for up to two weeks.
- You can make a non-toxic, food safe stain for your cheese boards with brewed coffee or tea.
- Do a test run on some scrap wood before you try this on your grandma’s favorite wooden spoon!
- Important: Practice safety when mixing and using the gel solution by wearing a mask and eye protection and working in a well-ventilated area.