I decided a few years ago to let go of my reservations about changing my home. I was so scared to add color and character for fear of hating it or messing up. However, once I took that first leap, I never looked back.
If you’re ready to give DIY a try, you can easily make your home feel custom by elevating your space with an accent wall. This can mean anything from wallpaper or limewash to chair rails or gallery walls — the list goes on. If done right, all these projects can make your home feel more high end.
Here are some examples of different accent walls I have done in my home and in clients’ homes, as well as some tips and tricks to help you along the way.
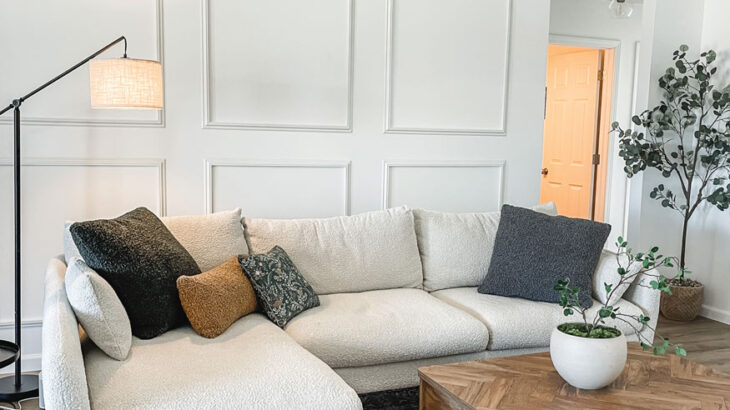
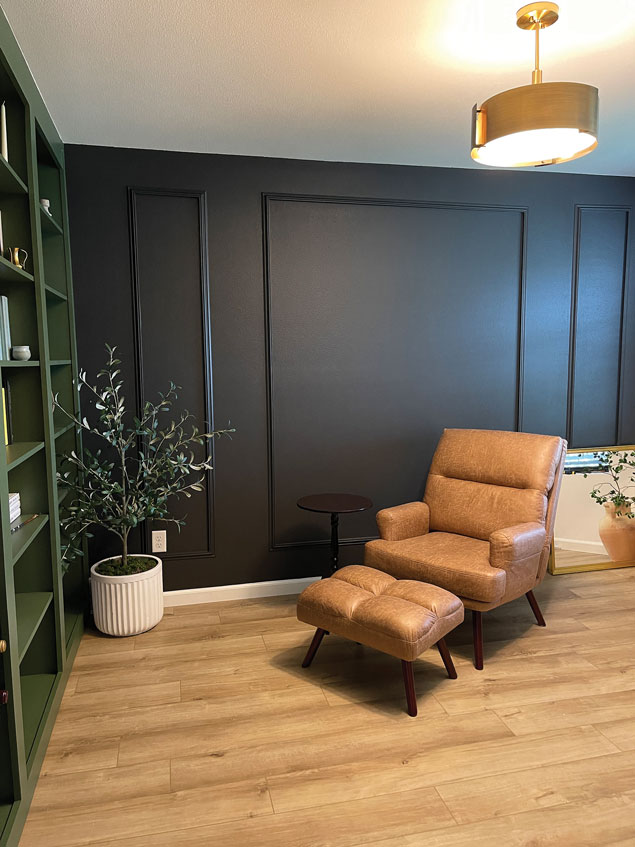
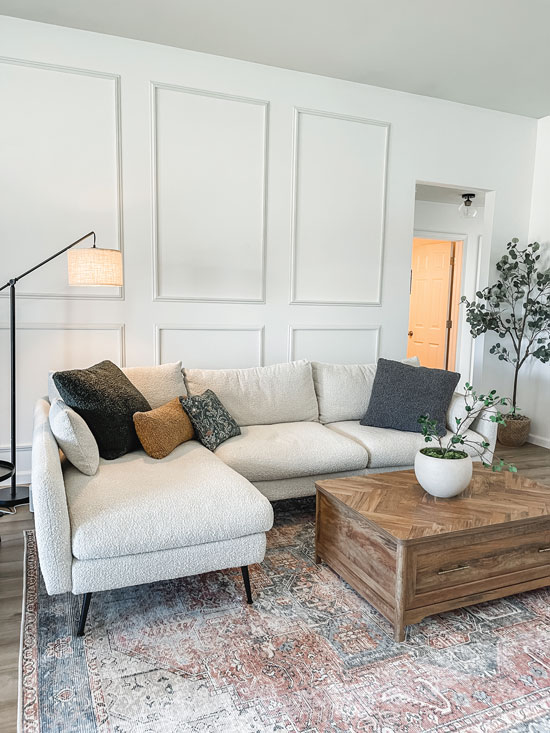
Picture Molding
What you’ll need:
- Molding trim
- Miter saw or miter shears to cut 45-degree angles
- Glue or brad nailer
- Caulk
- Paint
- Measuring tape
- Level
Instructions:
- Measure out your area and mark where you want your picture molding to be. Using painter’s tape might help with this
- Cut your molding at 45-degree angles to make your boxes the size they need to be. Repeat cuts for symmetry.
- Nail or glue your molding up. Use tape to hold in place while glue dries if needed. Caulk around the inside and outside edges of picture molding, making sure to cover your corners.
- Paint using a roller on the big areas and a paint brush to get into the edges and corners.
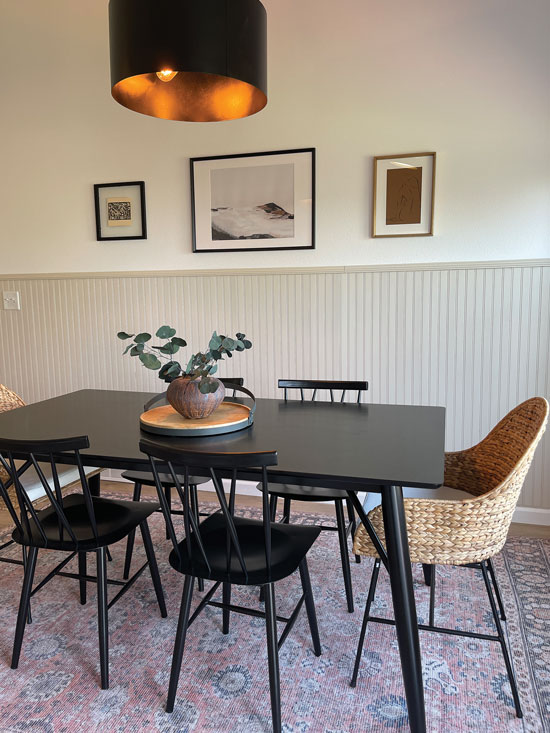
DIY Beadboard
What you’ll need:
- Beadboard (comes in planks from hardware stores)
- Moulding or trim for the top and bottom
- Miter or circular saw
- Glue or brad nailer
- Caulk
- Paint
- Measuring tape
- Level
- Speed square (for straight cuts)
Instructions:
- Measure out the height you want your beadboard to reach.
- Cut your beadboard planks using a miter or circular saw, all the same length.
- Install the beadboard starting from the middle and working out, or, if you have an open side, start on the side that meets a wall. Use glue or brad nails.
- Attach your moulding rail to the top.
- Caulk all seams before painting.
Geometric Wall
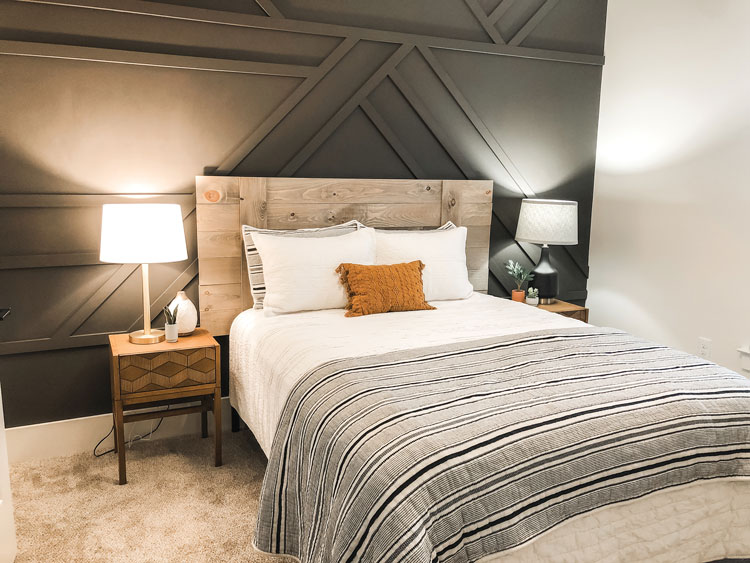
What you’ll need:
- 1-by-2-by-8 medium-density fiberboard (pre-primed white)
- Miter or circular saw
- Glue or brad nailer
- Caulk
- Paint
- Measuring tape
- Level
- Speed square (for straight cuts)
- Painter’s tape
- Spackle
Instructions:
- Start by taping off your design, or take a picture of your wall and draw your design on your device.
- Start by cutting your longest pieces first and attaching them to the wall with a brad nailer (or glue, but nailer is recommended).
- Measure your next cuts from the pieces you have already installed.
- You can use spackle to cover your nail holes; lightly sand once dry.
- Caulk all seams before painting.