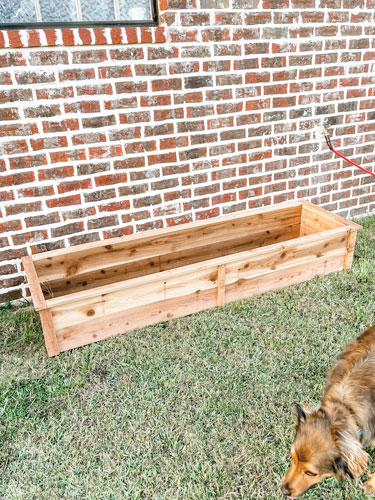
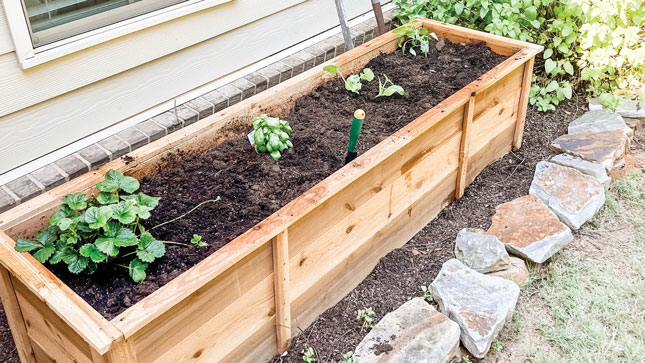
I probably don’t need to tell you that homesteading is trending. People want to learn to be more sustainable, and starting in the garden is the perfect way to get your feet wet.
I came up with a simple, low-cost and low-waste way to build planter boxes that will contain your spring garden. Trust me — start now before it gets scorching hot outside and use what the earth gave you this winter to save money come spring.
TIPS:
- Cedar is naturally resistant to rot and decay; plus, it’s a deterrent for pests.
- Use untreated wood to prevent chemicals from seeping into the soil that your crops are growing in.
- Leaves and tree limbs that have fallen over the winter make the perfect filler for your boxes. Just fill them with foliage about two-thirds full, and before you plant, fill the rest with organic soil. This will save you money, create drainage and provide nutrients for your future crops.
- If you are new to gardening, I suggest starting with a salsa garden. You can plant tomatoes, bell peppers and spicy peppers in one box. You also can add in some cilantro and onions if you’re feeling brave. A healthy mix of fresh veggies will get your homestead going!
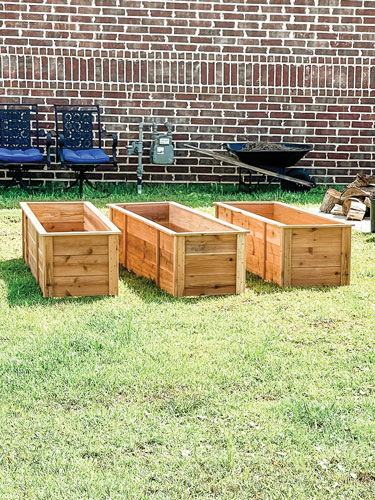
Tools and supplies:
- Saw (miter, circular or jig saw will do)
- Table saw (if you don’t have one, you can buy 1-by-2-by-8 pieces. This size will work for the middle and corner supports, as well as the trim around the edge. If you go this route, you can probably get by with just five cedar pickets instead of seven.)
- Drill
- Square
- Exterior wood glue
- 2-inch wood screws
- 1-inch wood screws
- Drill bit for the screws (usually the package comes with a drill bit)
- Pencil or pen
- Tape measurer
Materials:
- 7 untreated cedar pickets at 6 feet (I get mine at Lowes in the garden section. These are the dog-eared fence pickets and should be around $4 each.)
Cut List:
- Long side: 4 1-by-6 pickets at 6 feet
- Short side: 4 1-by-6 pickets at 17.75 inches
- Corner supports: 8 1-by-2 at 11 inches
- Middle supports: 2 1-by-1.5 at 11 inches
- Long trim: 2 1-by-2 at 72 inches
- Short trim: 2 1-by-2 at 19 inches
Step 1:
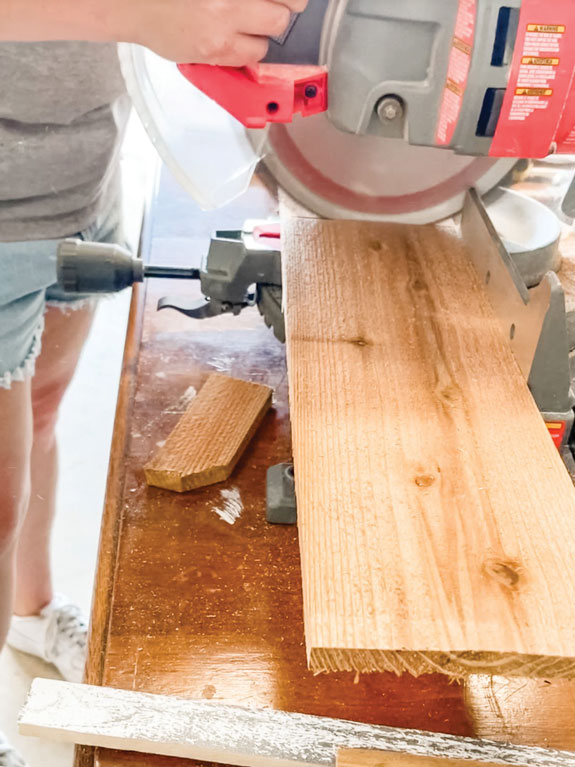
Make your cuts according to the cut list above. You can leave the dog-eared side on, or you can cut those off and adjust accordingly. Cut two of the pickets lengthwise into three sections each (1-by-2, 1-by-2 and 1-by-1.5) that will be used for trim, corner braces and middle braces. The remaining five pickets will make up the long sides (four pickets) and short sides (one picket).
Step 2:
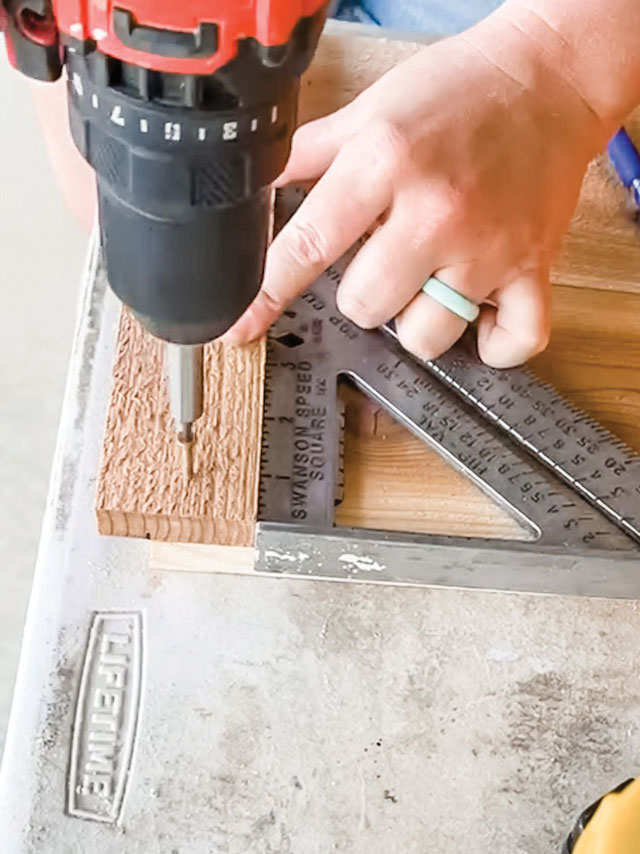
Once your cuts are made, you can start assembling everything. Start with the short sides. Add one corner support to the edge of two short-side pieces with enough overhang to screw into the long pieces. This will be 5/8 inches if you want it perfectly aligned. Using a square will help you line everything up, pressing down as you screw the 1-inch screws in. Repeat this for the other corners on the short sides, and then again for the long sides. Lastly, add your two middle supports in the middle of the long sides.
Step 3:
You should now have four sides with corner supports, two short sides and two long sides.
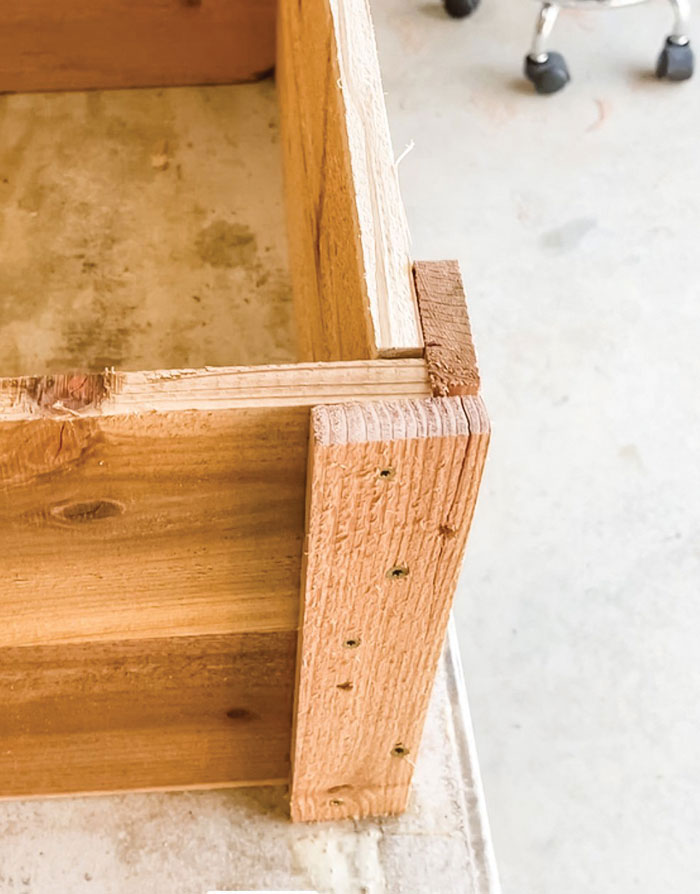
- Lay a long side flat on a table so the corner pieces are on the back closest to the table. Screw a short side into the long side and repeat the screws on the long side for added security. This should make an L shape.
- Now that the frame will stand up on its own, add the second long side, screwing in the same places. Then add your last short side, making sure to overlap the corners the same way you did on the first side. Now you have a rectangle box. You can use glue along the way.
Step 4:
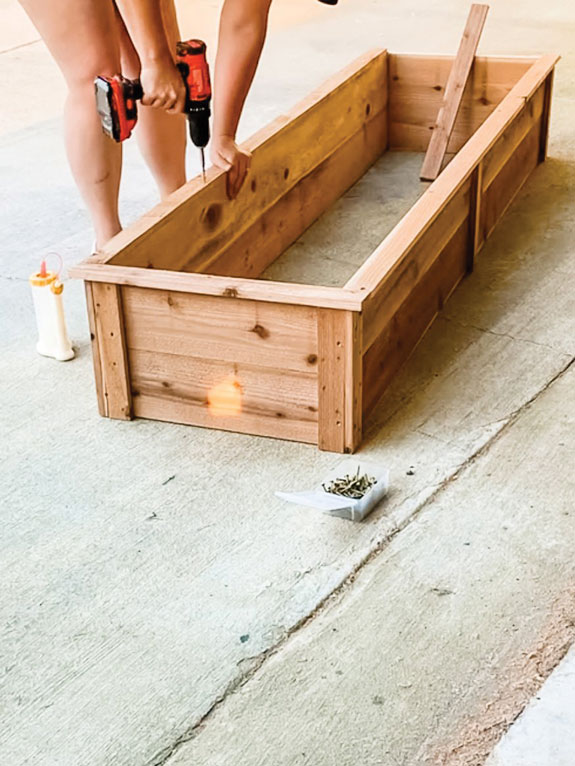
Now add your trim around the top. This gives the box a nice finish and a lip to grab onto. Use the 2-inch screws to attach, making sure to screw into the base.
Step 5:
You can add a base to this if you want, but I designed mine to go directly on the ground and used garden cloth on the bottom.
