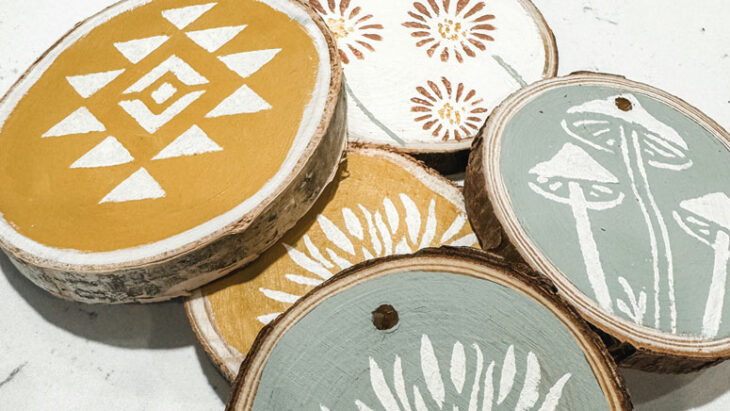
This holiday season, let’s focus on more handmade, perfectly imperfect decor to get us into the Christmas spirit! This project is a fun way to add that rustic, cozy vibe to your holiday decor. Plus, the kids will love getting creative with this fun project. Don’t forget to add your date and sign the back if you hand these out this year.
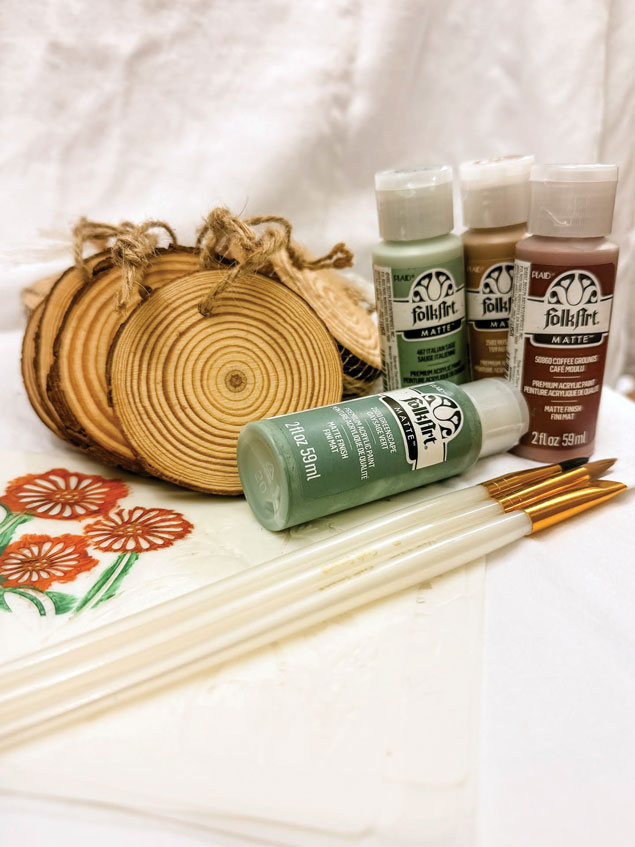
WHAT YOU’LL NEED
- Wood slices (any craft store should have these)
- Acrylic paint
- Paint brushes
- Stencils
- Twine
- Wooden beads (optional)
- Drill (if your wooden slices don’t come with pre-drilled holes)
STEP 1: PREP THE WOODEN SLICES
I bought my wooden slices from both Michaels and Hobby Lobby. When shopping for them, it helps to get the smoothest ones you can find so you don’t have to sand them. If yours don’t have pre-drilled holes, go ahead and drill the holes before you get started. If you are extra handy with tools and want to save a few bucks, you can slice these yourself with your own fallen tree limbs.
STEP 2: PAINT YOUR SLICES
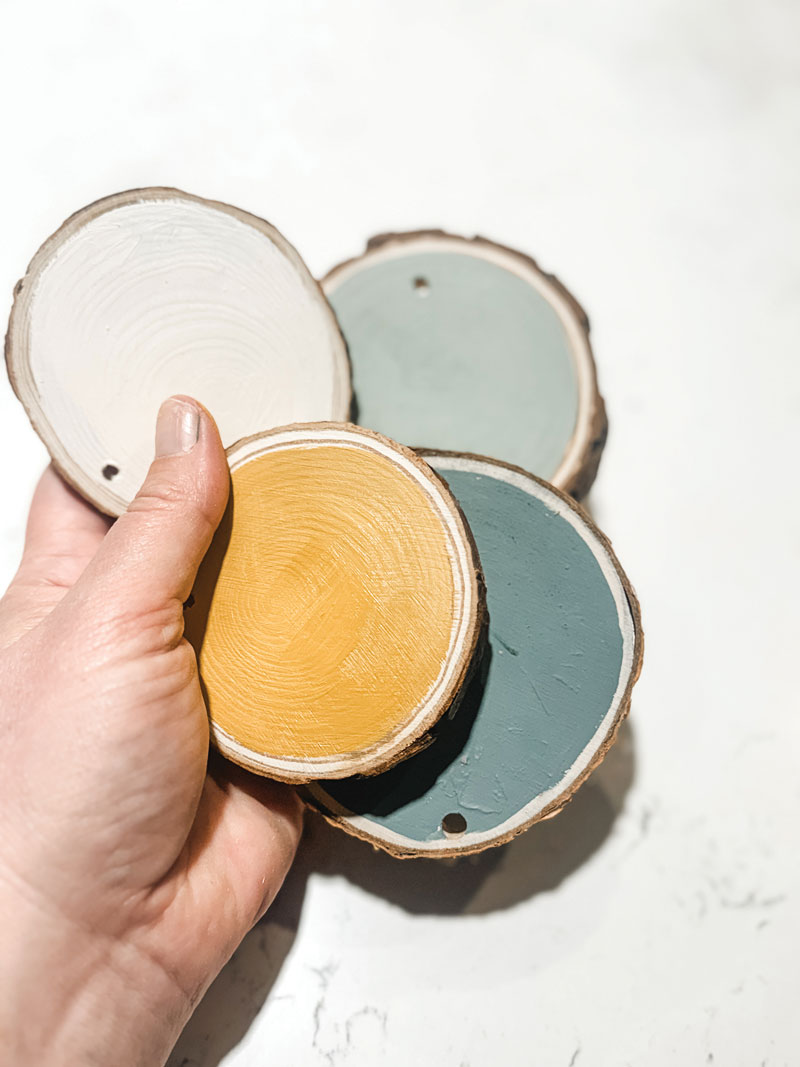
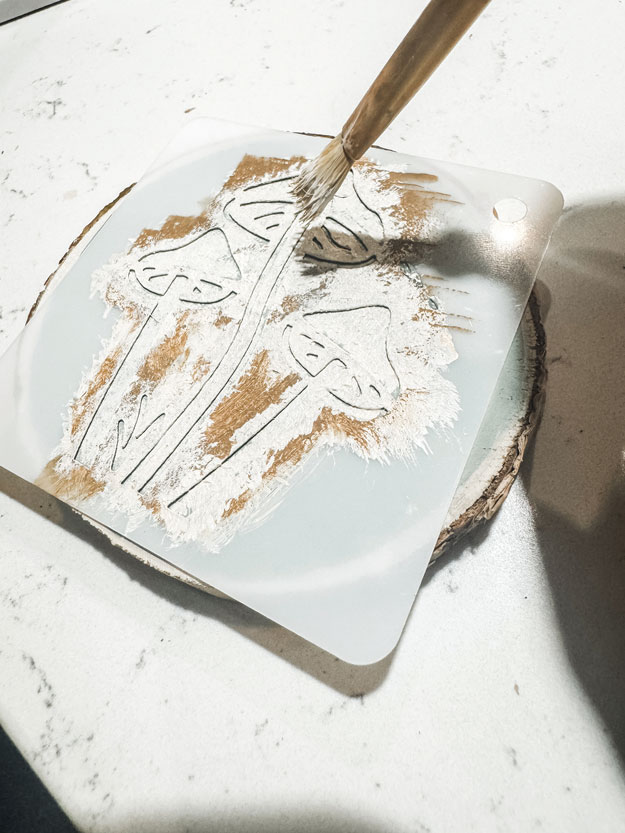
I used a very simple and organic color palette to match my home’s aesthetic, but you can choose whatever colors you want. I got my stencils from Amazon and chose a variety of floral, mushroom and Aztec designs. You also can ditch the stencils and freehand everything if you’re extra creative. I found that it helped to paint the background of the round wooden slice before adding the designs to help them pop more, and sticking with a cohesive color palette makes them look elegant grouped together.
STEP 3: ADD THE BEADS AND TWINE
Once your pieces are dry, you can add some twine and wooden beads to complete the rustic look. Of course, this is optional, but it does add a nice touch.
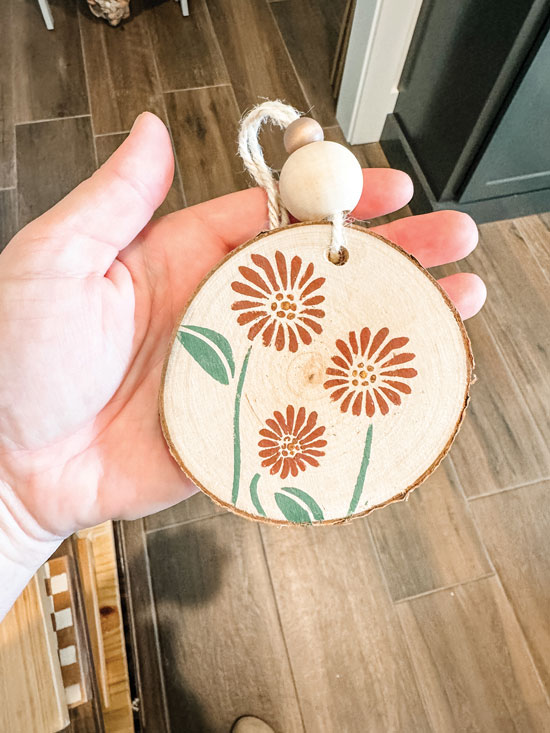
DIY Tip: When painting with stencils, you can use masking tape to outline your stencil design. This helps kids know which spaces to paint and keeps them inside the lines. Also make sure to lightly pounce the end of a paint brush into the stencil rather than longer strokes to keep the design from bleeding underneath.
Some suggestions: If you make these as gifts for family and friends, it would be a perfect way to add a child’s handprint or footprint with the year dated as a memento. You could do the same with your furbabies’ paw prints.


