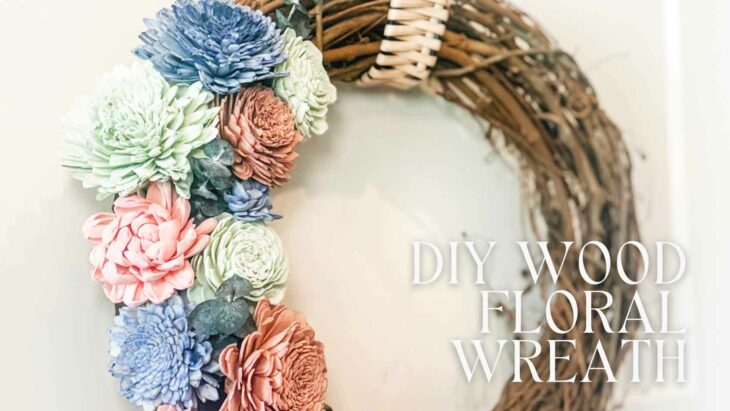
Sure, you can buy pre-made wreaths at the store, but you’ll never find one quite like this. Plus, it’s fun and easy; even kids can do it! DIY wreaths are a fun way to spruce up your home, and they can be easily customized to your aesthetic or any holiday.
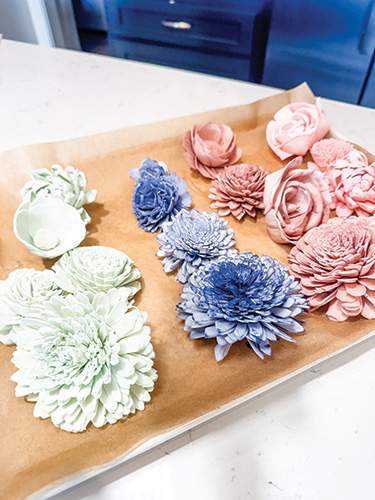
I am using handmade wood flowers from Sola Wood Flowers, dying them to match my color scheme and simply hot gluing them to a grapevine wreath. However, you can use any type of circle, ring or wreath form for this project. Let your creativity shine!
View this post on Instagram
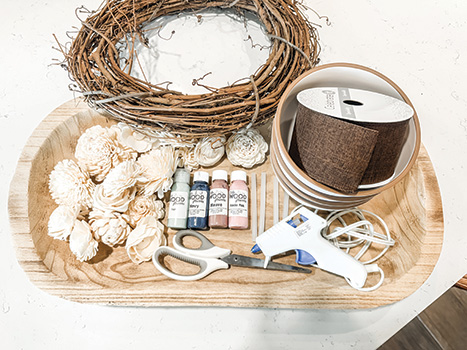
WHAT YOU’LL NEED:
- Sola Wood flowers
- Dried eucalyptus (optional)
- Flower dye (or you can use acrylic paint mixed with water and glycerin)
- Wreath form (I got my grape vine wreath from Michaels)
- Hot glue gun and glue sticks
- Ribbon (optional)
- Scissors
- Bowls for paint
- Drying tray (I use a cookie sheet lined with parchment paper)
STEP 1: FLOWER DYING
- Using bowls deep enough to dip the flowers in, mix your flower dye with water until you achieve your desired color. More water will thin the color, making it lighter, and less will make the color more opaque. I usually use a 1:6 dye-to-water ratio.
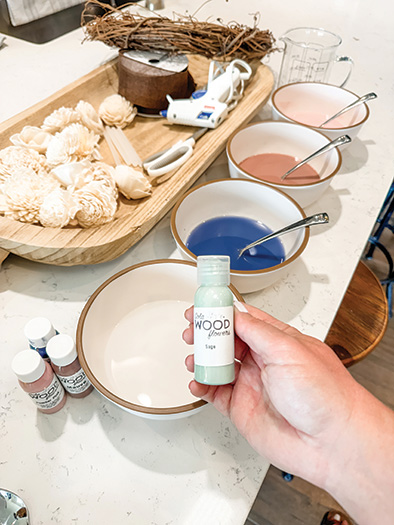
- Stir until the colored water is completely mixed. If using acrylic paint, use a little glycerin and water to thin the paint. Glycerin acts as a softener that keeps the wood flowers from being too brittle to work with.
- Carefully dip your flowers in the color bowls, twirling them around and making sure to coat everything with the color. Sometimes you need to open the petals to let the dye get inside.
- Set them on your drying tray and let them completely dry before working with them. It’s recommended to let them dry for 12-24 hours; however, I set mine in the sun for a few hours, and it sped up the process.
STEP 2: PREPPING YOUR WREATH
- This is optional depending on what kind of wreath you are using. I wrapped my wreath with ribbon where I planned to glue the flowers. This provides more surface area for the glue to adhere.
- You can use a foam or wire wreath and wrap the entire circle with ribbon, yarn, burlap or even nautical rope. Use the hot glue to adhere the ribbon securely to the wreath form.
- You also can glue a loop at the top of your wreath as a hanger or add a fancy bow.
STEP 3: GLUING THE FLOWERS
- This is where you can get as creative as you want! Glue your flowers in whatever arrangement appeals to you. Make sure to get enough hot glue on the back of the flower and that it has enough surface area to adhere to on the wreath. Press and hold each flower for 30 seconds while it’s drying.
- Optional: Add filler. I added a few sprigs of dried eucalyptus to create more texture.
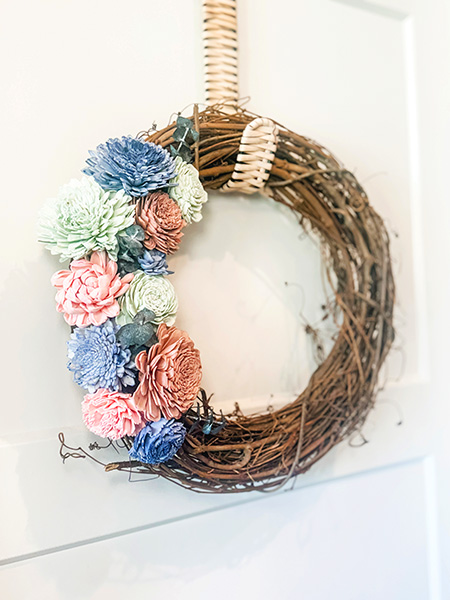
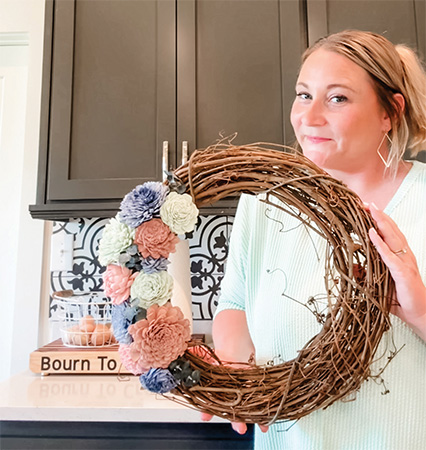
Voila! You are done! There are so many things you can do with your wood flowers. I often add them to my wood-art pieces, and I also love making coastal Western pieces with them. I hope you enjoy this project!
Tip: If you’re displaying your wreath outside, spray the flowers with a clear coat to help preserve your piece from the elements. It’s not recommended to have these in places where they can get wet.
View this tutorial on TikTok, Instagram or Facebook: https://www.bourntocreate.com/blog-1/diy-wood-flower-wreath