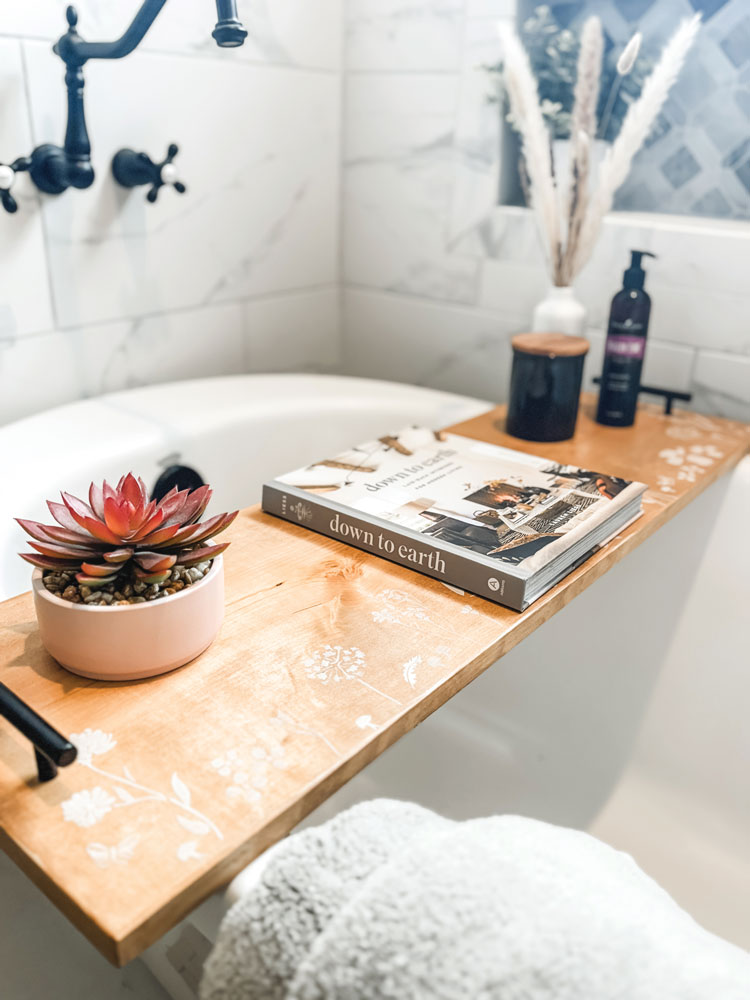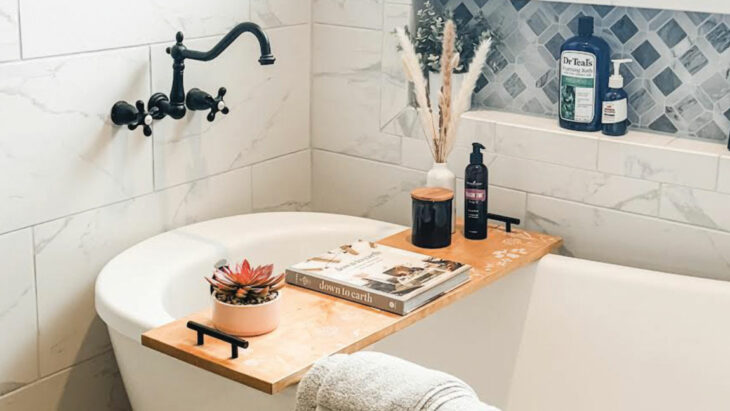
I didn’t know I needed a bathtub tray until I got one, and let me tell you: It’s a game changer. I don’t always use it while taking a bath, but I love it as decor. It makes my bathroom look and feel like a professional spa. Plus, it’s so easy to make and customize it to your own aesthetic. I made this one very whimsical and feminine, yet rustic, to blend into my modern farmhouse decor.
Want one of your own? Here’s what you need to do:
SUPPLIES
- Wood (I used 48-by-11.25-inch piece from Lowes and cut to fit)
- Stain (or paint, I used water-based stain, optional)
- Magic Eraser, sponge or stain cloth
- Spray shellac or clear-coat spray to seal it
- Handles with hardware
- Safety glasses
- Pencil
- Straight edge
- Tape measure
- Paint and stencils for the design (optional)
TOOLS
- Jigsaw (or you can use any saw to make a straight cut, or get someone at the lumber store to cut it to size for you)
- Drill (with drill bit the right size for your hardware)
- Sander (I use an orbital sander, but you also can use sandpaper or a sanding block.)
View this post on Instagram
STEP 1 – PREP THE WOOD
Measure your bathtub width. Mine is 31.5 inches wide, so I cut my wood to 36 inches to have room for an overhang. Cut your wood to size. You can get your hardware store to cut this for you, or use a jigsaw, circular saw or table saw. Once the wood is cut to size, give it a good sand to get rid of any splinters and prep it for stain or paint. I used an orbital sander with 220 grit and 400 grit. Make sure you round the sharp corners and edges. You definitely can use just sandpaper or a sanding block if you don’t have an electric sander.

STEP 2 – STAIN OR PAINT THE WOOD
Get as creative as you like. I used a water-based stain and mixed two colors to get the color I desired. I also added a little bit of water to my stain to thin it out, helping it to go on smoothly. Wipe off the excess stain with a dry cloth or paper towel. You also can just paint your wood depending on the look you are going for. Once the stain is completely dry, spray with a clear-coat spray. I like the Zinsser Shellac spray because it dries quickly.
Note: If you use an oil-based stain, it definitely will need a clear coat in between the stain and the painted design, as acrylic paint does not like to stick to oil-based stain.
Tip: if you don’t have a stain, or want to be completely natural, you can stain your wood with coffee or tea for a beautiful finish.
STEP 3: PAINT YOUR DESIGN
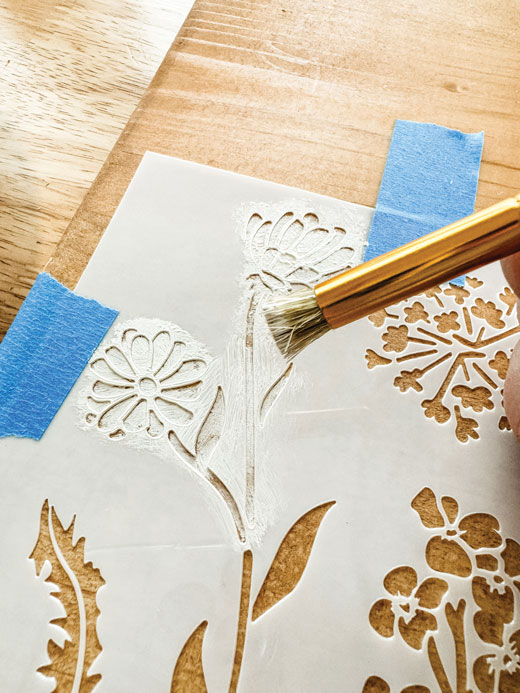
This is where you can be as creative as you like! I used stencils I bought from Michaels. You also can freehand your design, or use a circuit-cutting machine. I used a paint brush with acrylic paint to lightly add my designs to the wood. The trick is that less is more; you always can add a second coat, but adding too much paint to the stencil will cause it to bleed underneath. Once this is completely dry, spray it again with the clear-coat spray to seal it.
STEP 4: ADD HARDWARE
Using a ruler or measuring tape, find the middle of the wood on both sides and mark where your hardware holes need to be. Use a drill bit the same size as your hardware screws and drill holes. Add your hardware, and you are done. Now you get to decorate!
Tip: Always stain both sides of wood even if you are not going to see the bottom. This will prevent the wood from warping.