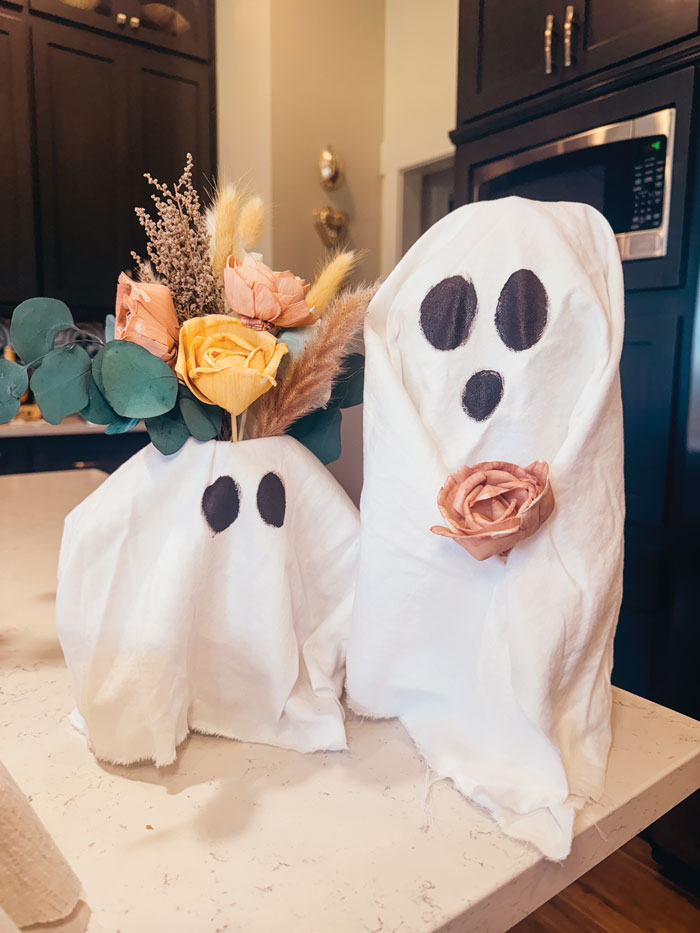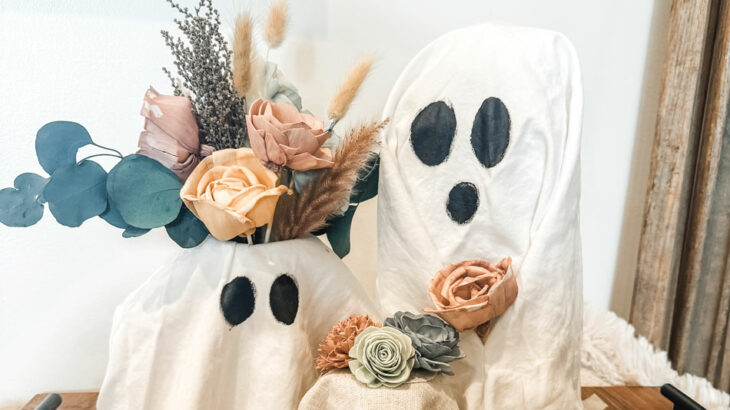
Spooky season is finally here! In my home, we like to embrace the cute, festive decorations and leave the scary, spooky stuff to the professionals. Here is an easy, fun way to DIY some friendly ghost flowerpots or vases using household items and recycled materials.
This craft is fun for kids and an inexpensive way to create some cute fall décor. These also would make such cute gifts for friends, family members, neighbors or even your kids’ teachers.
 Here is what you need:
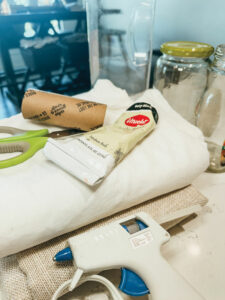
SUPPLIES
- Scrap fabric or an old white sheet
- Hot glue gun
- Scissors
- Old jars/containers
- Black paint or Sharpie
- Real or fake flowers and filler
- Toilet paper tube (optional)
STEP 1: PREP JARS AND GATHER SUPPLIES
I used an old jelly jar, a coffee jar and a plastic pretzel bin for the demonstration, but I’ve also used pickle jars and spaghetti sauce jars. Anything will work; you just need some size variation if you plan to make a few and place them next to each other.
Wash and dry the jars while you gather your other materials. Scrap fabrics usually are available at your local crafts store, but you also can use an old white sheet or even some thrifted pillowcases. I am using an old twin sheet and some scrap fabric left over from a previous project.
STEP 2: GIVE THE GHOSTS SOME SHAPE
If you want the ghost to have a ghostly shape with arms, you can use a paper towel or toilet paper tube. I just cut mine about 1.5 inches in length and glued them to the sides of the jar to make arms. For my larger ghost, I stuffed some old bubble mailers inside the container, letting it form a round dome on the top to shape the ghosts’ head.
STEP 3: COVER THE GHOSTS
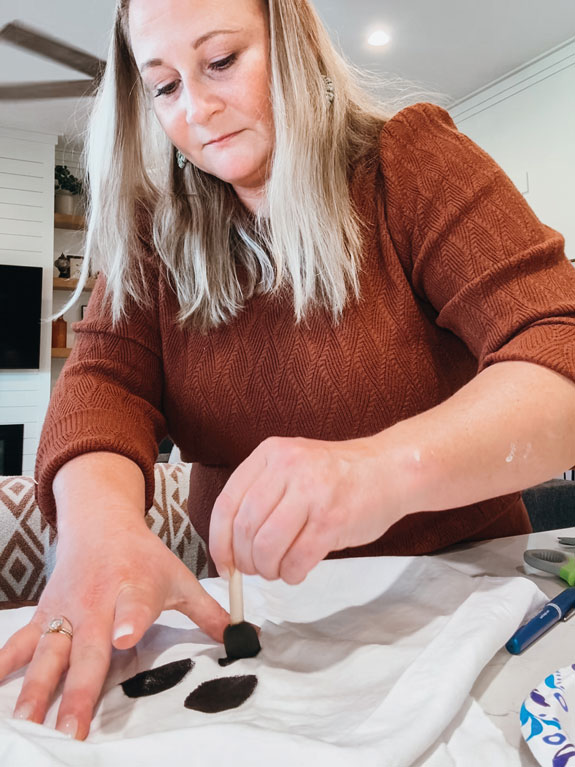
Drape your fabric over the ghost and mark a guideline for where to cut the fabric. Cut squares big enough to cover the entire jars, no need to cut circles. For the medium flowerpot, I found the center of my fabric and cut a small ‘X’ so that when draped over the jar, you can access the inside of the jar. Go ahead and paint or draw your ghost faces on your fabric. I used acrylic black paint, but sharpies work just fine.
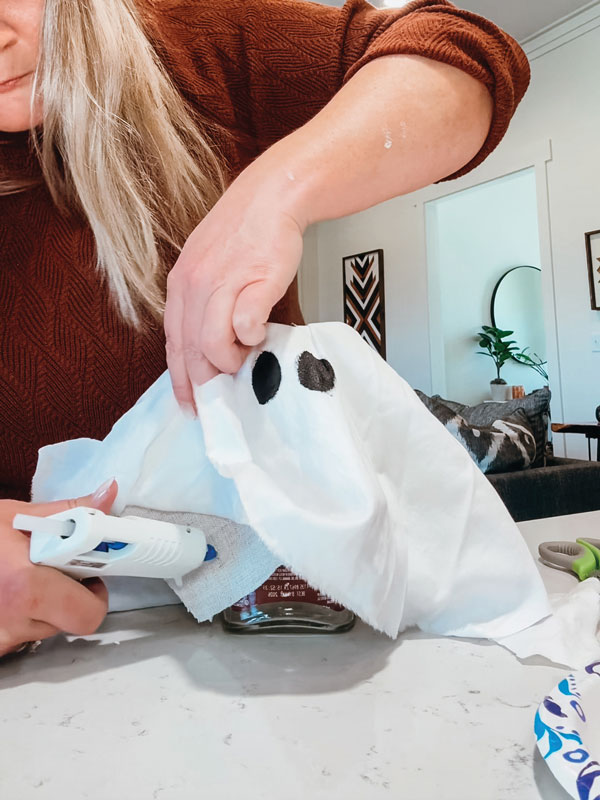
STEP 4: GLUE EVERYTHING TOGETHER
Once your fabric is over the jar and placed where you want it, hot glue the fabric in place. Tuck the corners under or in between the folds to hide them. Make little pleats and use hot glue to keep the ghosts’ fabric looking flowy. If you’re making the flowerpot version, tuck the ‘X’ you cut inside the jar and glue it down.
STEP 5: ADD FLOWERS OR DECORATIONS
I used Sola wood flowers to decorate my ghosts. You can use fake florals from your local crafts store or cut some greenery from your garden.
* DIY Tip: You can do this to your existing flowerpots and remove them with no damage after the season is over. This is a huge space saver for storing holiday decor. Fold them up and use them again next year.